
Painting trim and baseboards: DIY techniques, tools and when to hire
Compare DIY techniques and professional service for painting trim and baseboards. Find step-by-step prep, tool lists, fixes, and a local hire checklist.
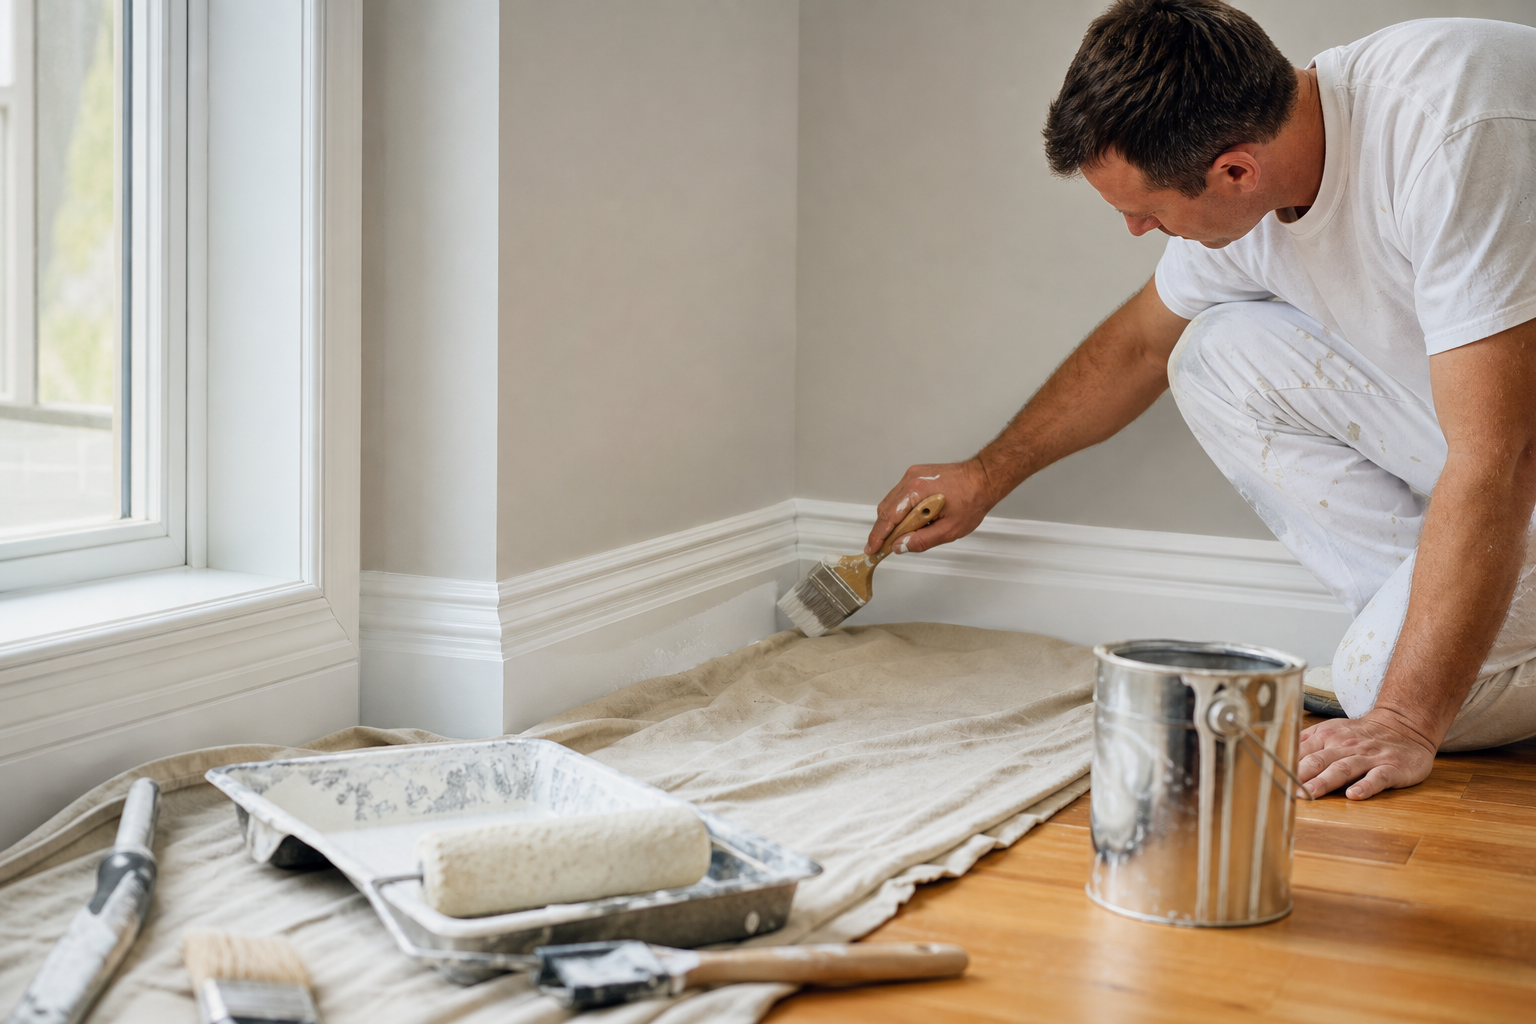
Painting trim and baseboards: DIY techniques, tools and when to hire
Painting trim and baseboards is a relatively small project that makes a large visual difference. The outcome depends on preparation, tools, technique and drying conditions. This comparison helps Greater Victoria homeowners, landlords and strata managers decide whether to tackle painting trim and baseboards themselves or hire a professional. You will find a practical DIY workflow, the tools and products that deliver a professional finish, common finish problems and fixes, and a clear decision checklist to help you choose.
Quick side-by-side comparison: what DIY delivers and what a pro delivers
At-a-glance comparison
- Time and disruption: DIY, a single room usually takes 1 to 3 days including prep and drying; a pro can often complete the same room in one day with less disruption.
- Finish quality: DIY can be excellent with patient prep and the right tools; professionals deliver more consistent lines, fewer brush marks and guaranteed touch-ups.
- Tools and materials: DIY requires a quality angled sash brush, primer, caulk and trim paint; contractors add high-volume spray finishing, trade-grade primers and test cuts.
- Risk and follow-up: DIY errors generally mean sanding and a recoat; professionals reduce the risk of adhesion failures, sheen mismatch and poorly filled joints.
- When to prefer a pro: multi-unit jobs, heritage mouldings, water-damaged trim, tight timelines or a need for warranty and certified quality assurance.
Decision checklist for common scenarios
- If you have one room and time to prepare carefully, DIY is cost effective.
- If you need fast turnover for a rental or a tenant change, hire a pro for scheduling and speed.
- If trim is rotten, heavily dented or requires replacement, let a professional handle repairs and matching.
When a pro is strongly recommended
Hire a contractor when you need consistent results across multiple units, minimal downtime for occupants, or a finish that resists scuffs in high-traffic areas. Cornwall Painting provides full-service prep, high-volume spray finishing and a satisfaction commitment for clients in Greater Victoria and nearby communities, which reduces the coordination burden for landlords and strata managers.
Step-by-step DIY process for painting trim and baseboards
1. Prep and repairs
Begin by removing dust, vacuuming crevices and wiping trim with a mild cleaner to remove oils. Inspect for dents, gaps and loose moulding. Fill nail holes and gouges with a wood filler, sand smooth and re-caulk gaps between wall and trim using a paintable caulk. Careful prep is the foundation of a durable finish, and you may need to replace damaged trim or repair adjacent drywall before painting (Benjamin Moore).
2. Prime and paint order
Follow the top-to-bottom sequence: ceilings first, then walls, then trim. That order keeps drips off finished surfaces and yields cleaner lines around mouldings (Benjamin Moore). Use a primer when the trim has stains, bare wood or a drastic colour change. Most guides recommend one coat of primer when needed, then two finish coats of trim paint with adequate drying time between coats (Glidden).
3. Cutting in and brushing technique
Use a 2 to 2.5 inch angled sash brush for baseboards and narrower trim. Hold the brush like a pencil and make controlled strokes, working in the same direction as the moulding profile for a smooth appearance. For broader baseboards consider a small foam roller for the field and a 1 to 2 inch angled sash brush to cut a crisp edge (This Old House).
4. Sanding between coats and final touch-ups
After primer and between finish coats, lightly sand with 220 grit paper to remove dust nibs and brush marks. Wipe with a tack cloth and apply the next coat. Allow full cure before moving furniture back, which usually means waiting longer than the dry-to-touch time listed on the paint can for best durability (Glidden).
5. Clean-up and when to move furniture
Remove tape while paint is tacky for the cleanest edge. Clean brushes with water for water-based paints, or follow solvent guidance for oil-based products. Keep foot traffic low for at least 24 to 48 hours and avoid heavy use until the finish cures.
Tools, materials and paint choices you need to know
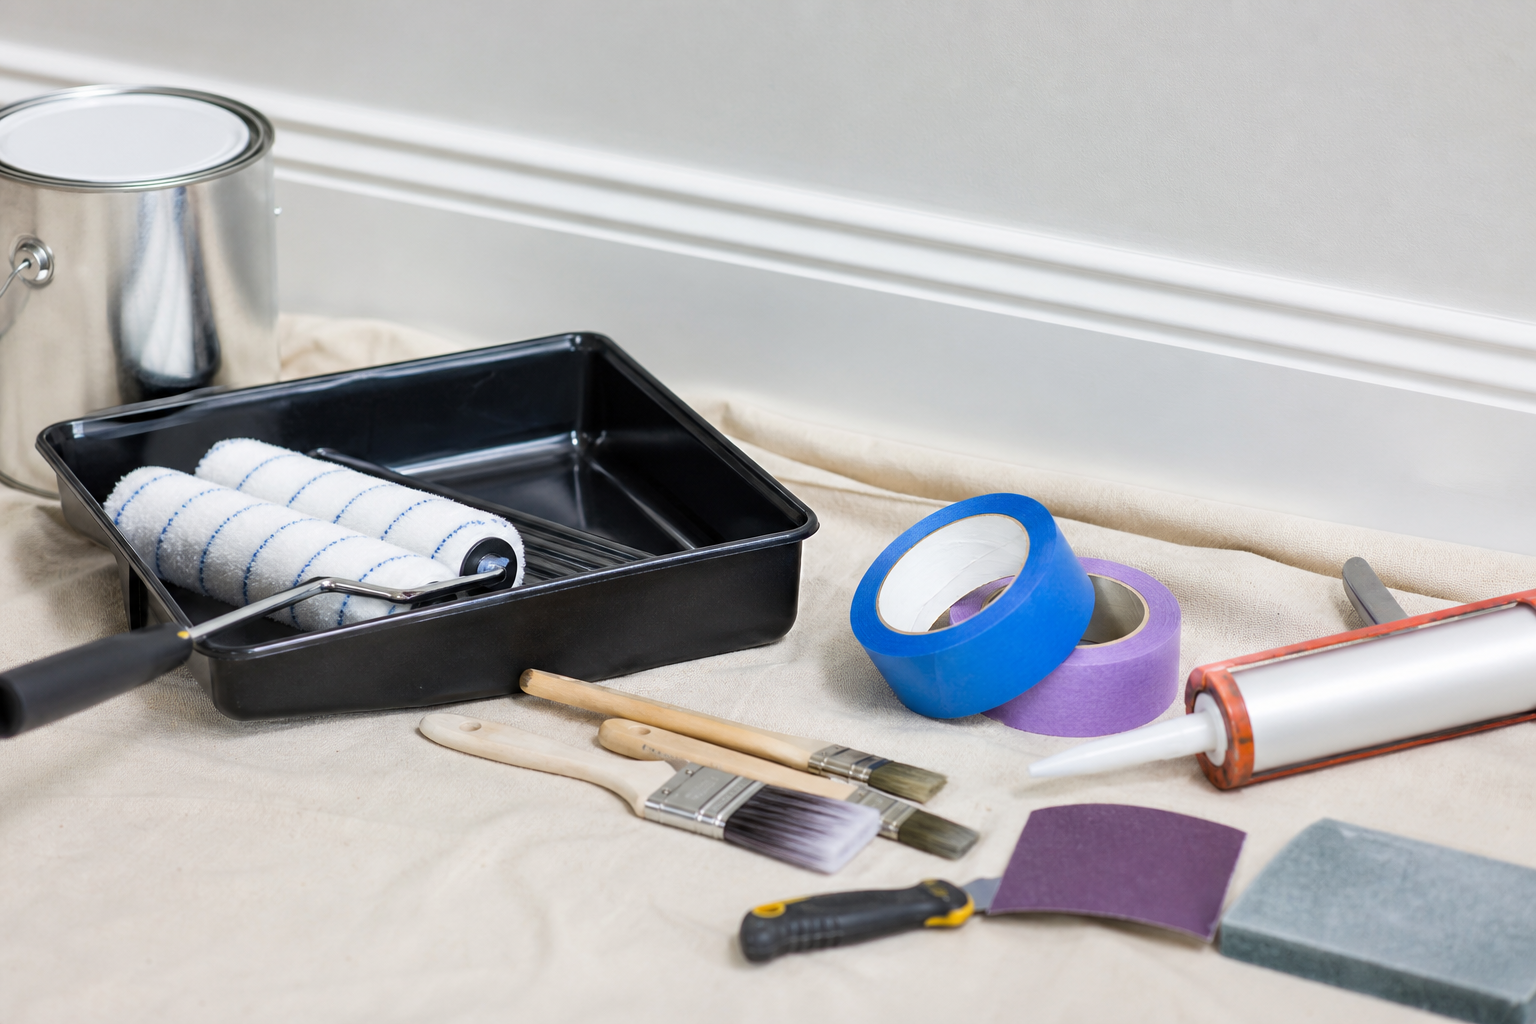
Brushes and rollers
- 2 to 2.5 inch angled sash brush for cutting in and edges, use nylon or polyester for water-based paints and natural bristle for oil-based paint (This Old House).
- Small foam roller for the flat surface of wider baseboards to reduce visible brush texture.
Primer and topcoats
Use a primer on raw wood, stained trim or when changing from dark to light colours. One coat of primer when needed and two finish coats of trim paint are common recommendations for durability and even sheen (Glidden).
Caulks, fillers and sandpapers
Choose a paintable acrylic or siliconized-acrylic caulk for gaps and a high-quality wood filler for dents. Sand with 120 grit for initial shaping and finish with 220 grit to smooth before the topcoat. Professional-grade caulk helps prevent future cracking (DAP).
Sheen guidance
Gloss or semi-gloss sheens are recommended for trim and baseboards because they provide greater durability and are easier to clean, which matters for scuff-prone areas. This guidance is consistent across trade sources and manufacturer advice (Glidden) (Benjamin Moore).
Eco-friendly and low-VOC options
If occupants are sensitive to odours, choose a quality low-VOC water-based trim paint and ventilate the room. Cornwall Painting notes the use of premium, eco-friendly products as part of its interior service offering (Cornwall Painting).
Common finish problems and how to fix them
- Visible brush strokes and drips often come from overloading the brush. Fix by sanding smooth with 220 grit and applying a thin recoat. Light sanding between coats prevents buildup (This Old House).
- Poor adhesion and peeling may be caused by inadequate cleaning or a glossy existing finish. Diagnose adhesion with tape, then degloss or sand glossy surfaces before priming (Randall's).
- Gapped or cracked joints are fixed by removing loose material, filling with flexible caulk and tooling the joint smooth before painting (DAP).
- Colour or sheen mismatch is avoided by testing sample patches and using the same product and sheen across connected areas (PaintProCalculator).
When to hire a pro: decision checklist for homeowners, landlords and strata

Score each item 0 for low, 1 for medium and 2 for high, then add the total. If your total is 6 or higher, hiring a professional is strongly recommended.
- Scale, number of rooms or units to paint (0 one room, 1 several rooms, 2 multiple units or whole building).
- Condition, trim condition and repair needs (0 cosmetic, 1 some repairs, 2 rotten or water damage requiring replacement).
- Time pressure, tenant turnover or builder deadlines (0 flexible, 1 moderate, 2 urgent timelines).
- Access and safety, high ceilings, scaffolding or difficult access (0 easy, 1 ladders, 2 scaffolding or fall hazards).
- Finish requirement, need for spray finish, exact colour matching or warranty (0 basic, 1 high finish, 2 critical warranty needed).
What Cornwall Painting will do differently and what to expect when you hire them
Cornwall Painting is a full-service residential and commercial painting company serving Greater Victoria and surrounding areas. Expect a pre-job inspection, a written scope that includes repairs such as drywall patching or trim replacement where required, professional caulking and priming, and controlled application using brush and spray methods as appropriate. The company emphasises meticulous surface preparation, premium eco-friendly materials, on-schedule execution and certified quality assurance for interior trim and baseboard projects (Cornwall Painting).
For property managers and strata, Cornwall Painting offers flexible scheduling and the ability to handle multi-unit jobs with consistent colour matching and high-volume finishing. Their service from prep through final clean-up and a 100 percent satisfaction commitment can reduce coordination burden for on-site managers (Cornwall Painting).
Local considerations for Greater Victoria: timing, humidity and contractor scheduling
Victoria’s coastal climate can increase indoor humidity at certain times of year, which slows drying and curing. Plan interior painting on drier days, ensure adequate ventilation and allow longer curing windows for topcoats. Manufacturer advice recommends following the paint label for temperature and humidity limits and allowing full cure times before heavy use to avoid scuffing (Benjamin Moore). Contractors in the area, including Cornwall Painting, schedule work around local weather and building constraints to optimise drying and reduce rework (Cornwall Painting).
Frequently asked questions
Can I paint trim and baseboards without sanding first
You can skip aggressive sanding when the surface is clean, sound and previously painted with a compatible paint, but light scuff sanding with 220 grit improves adhesion and removes gloss. If the previous finish is glossy, use a deglosser or sand to ensure primer and topcoat adhere properly (Randall's).
What sheen should I choose for trim and baseboards
Choose a semi-gloss or gloss sheen for durability and ease of cleaning. Trade guidance explains these sheens hold up better to scuffs and repeated cleaning than flatter finishes (Glidden).
How long should I wait before replacing baseboard trim or moving furniture back after painting
Wait at least 24 hours before light furniture contact and 48 to 72 hours for heavier use, but follow the paint manufacturer’s full cure recommendation for the specific product you used (Glidden).
Is it better to paint trim before or after the walls
Paint ceilings first, then walls, then trim. That order prevents drips from landing on finished surfaces and provides cleaner edges when cutting in around the trim (Benjamin Moore).
When does a baseboard repaint require a professional repair rather than a simple touch-up
If you find rot, large gaps, significant moulding damage or water stains that indicate continuing moisture problems, hire a professional. A contractor will replace damaged sections, diagnose underlying issues and match moulding profiles for a seamless result (Cornwall Painting).
Cornwall Painting can provide a pre-job inspection and a tailored quote if you prefer to hire a professional for painting trim and baseboards. The team offers surface repair, premium eco-friendly paints and scheduling flexibility across Greater Victoria.
If you are ready for a quote, contact Cornwall Painting for a clear estimate that covers materials, prep and labour tailored to your project.