
7 interior painting prep checklist items compared for homeowners
Seven essential interior painting prep steps compared side-by-side: DIY tasks, professional services, room-specific tips and clear rules for when to call.
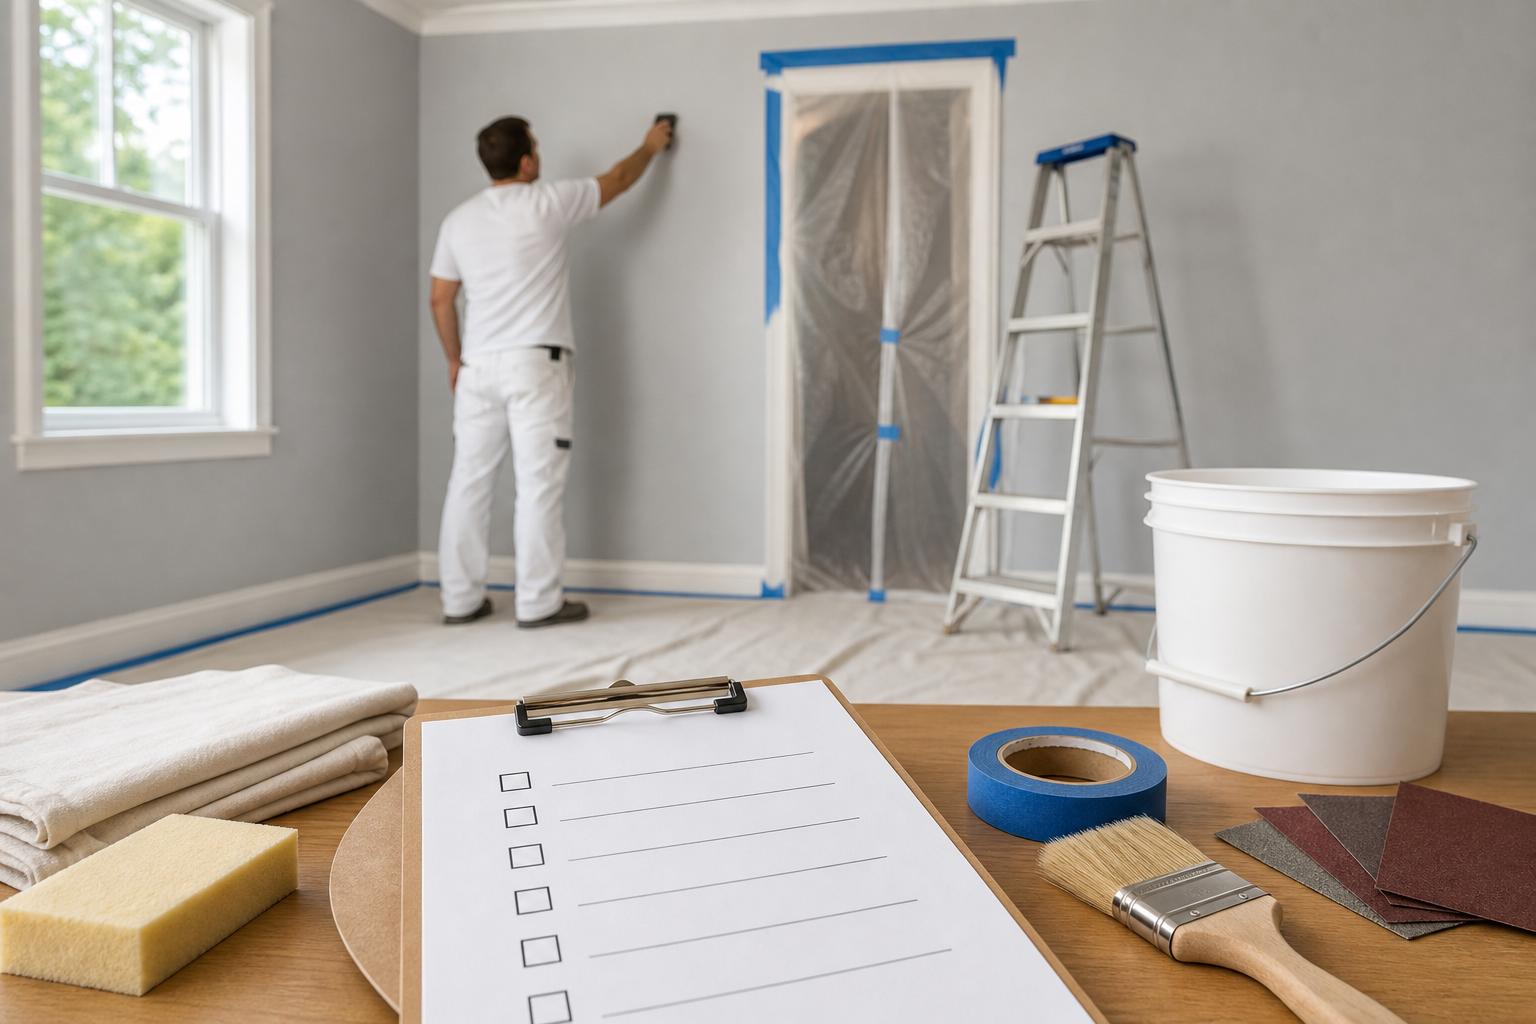
7 interior painting prep checklist items compared for homeowners
Preparing a room before painting saves time, reduces call-backs, and improves finish longevity. This article compares seven essential prep tasks with a simple DIY column, a professional column describing what Cornwall Painting will handle, and a short decision rule that tells you when to hire a pro. Sources such as Benjamin Moore, Sherwin-Williams and DAP inform the best-practice steps below. Cornwall Painting serves Greater Victoria and nearby BC communities and can take on the pro tasks listed when you need them.
1. Clear the room and protect floors and furnishings
DIY steps
Remove small items and wall art, slide lightweight furniture to the room centre and cover pieces with canvas drop cloths or plastic sheeting. Use canvas cloths on hardwood to avoid slipping and secure edges with low-tack painter's tape. For small, bulky items, label and box them to keep the work area clear. Time estimate: 30 to 90 minutes for an average living room depending on furniture volume.
Pro services
Pros provide professional furniture staging and moving for heavy or fixed pieces, and use purpose-built floor protection systems that prevent scuffs and moisture damage. Cornwall Painting crews can install walk-off mats, taped seams, and protective masking tailored to delicate flooring and perform a pre-job walkthrough to identify fragile areas and traffic flow.
When to hire a pro
If you own large antiques, built-ins, or hardwood floors that must not be scuffed, hire a pro for staging and protection. For straightforward rooms with light furniture, careful DIY protection is usually adequate. For recommended supply checklists and basic items, see Benjamin Moore's room-prep notes.
2. Clean walls and remove grease, dust and mould
DIY steps
Begin by dusting ceilings and walls with a microfiber broom or vacuum with brush attachment. Wipe surfaces with a mild trisodium phosphate alternative or commercial wall cleaner, rinse with clean water and allow to dry. For kitchen grease or nicotine staining use a stronger degreaser and follow with a rinse. Treat small mildew spots with a diluted bleach solution or a mildew remover, then rinse thoroughly.
Pro services
Professionals bring industrial cleaners and equipment to remove deep grease and set-in soils. For severely soiled walls crews may use a mobile steam-clean or power-clean system and perform floor-to-ceiling rinsing. Cornwall Painting will assess persistent stains and recommend remediation before painting to ensure proper adhesion.
When to hire a pro
Call a pro if stains do not lift with household cleaners, for large mildew areas, or when occupants have sensitivity to cleaning chemicals. Industry guidance highlights cleaning as a critical step that often determines how long a paint job lasts; DAP and Sherwin-Williams provide step sequences that emphasise this point.
3. Repair cracks, patch drywall and remove popcorn ceilings
DIY steps
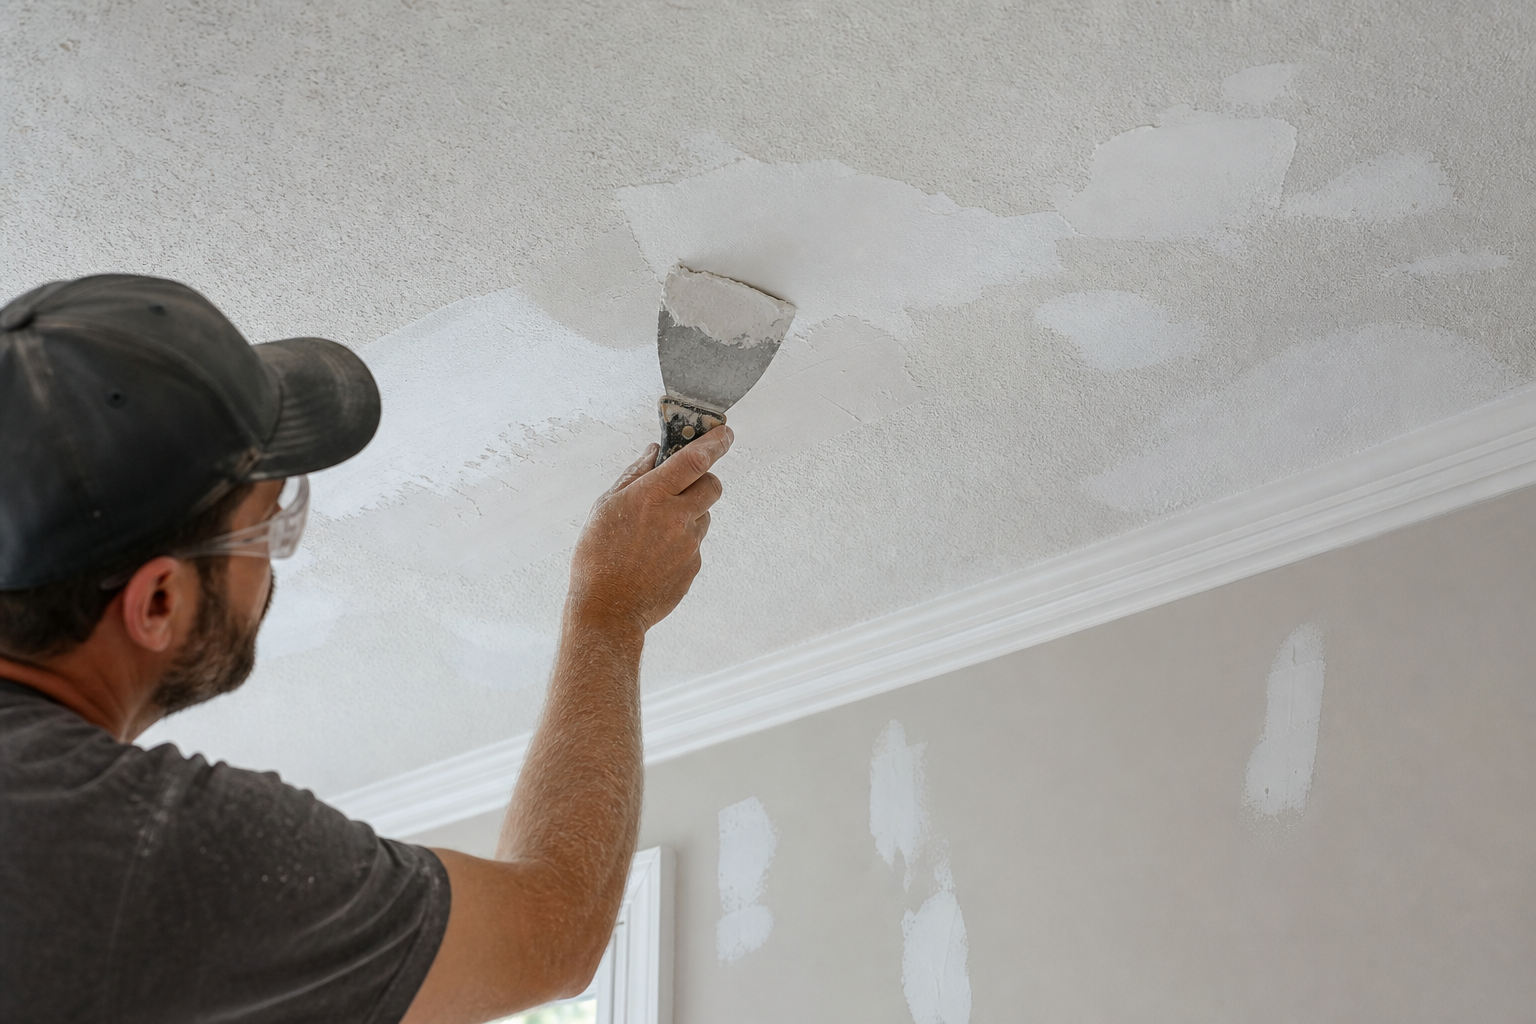
For small nail holes and hairline cracks, fill with spackling compound, sand smooth when dry and wipe dust. For holes up to a few inches, use a patch kit and a lightweight setting compound, sand and prime. If textured ceilings are acceptable, mask them during wall repairs to avoid contamination.
Pro services
Professionals handle taped joint repairs, full skim coats, and popcorn ceiling removal with proper containment and finishing schedules. Cornwall Painting offers popcorn ceiling removal plus the subsequent re-skimming, joint finishing and texture matching required to prepare ceilings for painting. For contractor-focused workflow guidance, see the approved surface-preparation workflow resource.
When to hire a pro
Hire a pro when damage covers multiple patches, when you need an even, large-area smooth finish, or when ceilings may contain asbestos and require testing and licensed removal. For repair and texture matching beyond small patches, professional work avoids visible seams and rework later.
4. Sand repairs and control dust before priming
DIY steps
Sand patched areas with a fine to medium grit to feather edges, then wipe surfaces with a slightly damp cloth. Use sanding blocks for flat areas and small sanding pads for contours. Contain dust by sealing doorways with plastic sheeting and turn off central HVAC while sanding small areas.
Pro services
Pros use dustless sanding systems, HEPA-filtered vacuums and negative-air machines to protect occupants and prevent dust settling on nearby surfaces. Cornwall Painting can deploy full containment and dust extraction for larger sanding jobs to keep dust out of ducts and equipment.
When to hire a pro
If you are sanding large areas, working in occupied units, or have allergy and asthma concerns, hire a pro with dust control equipment. Dustless sanding reduces cleanup time and prevents paint defects caused by dust contamination.
5. Mask trim, remove or protect hardware and fixtures
DIY steps
Remove switch plates and outlet covers and label them for reinstallation. Use a firm, low-residue painter's tape to mask baseboards, window sashes and trim. Protect doorknobs and light fixtures with small plastic bags and tape. For trim painting, clean and scuff-sand surfaces to improve adhesion before taping.
Pro services
Professionals provide precision masking, spray-mask systems, and can remove and reinstall trim, doors and hardware for a factory-like finish. Cornwall Painting can remove trim to paint in a controlled manner or use spray finishing combined with expert hand touch-ups to achieve seamless lines.
When to hire a pro
If the job requires seamless spray finishes, complex mouldings or conservation of antique hardware, engage a pro. For routine trim and plate removal, DIY is usually acceptable when performed carefully. Benjamin Moore's prep guidance lists common masking traps to avoid.
6. Prime problem areas and choose the right products

DIY steps
Prime patched areas, bare wood and stain spots with an appropriate primer. Use stain-blocking primers for tannin or water stains and mildew-resistant primers in bathrooms. Select finishes by room: satin or eggshell for living areas, semi-gloss for trim and kitchens, and low-VOC options for reduced odour indoors.
Pro services
Professionals specify primers and topcoats matched to the substrate and environmental conditions, and they apply products with correct wet-film thickness and drying schedules. Cornwall Painting recommends premium primers and topcoats compatible with the substrate and will advise on high-performance products for cabinets, trim and high-traffic areas.
When to hire a pro
Prime patched areas and raw wood yourself for small jobs. For severe stains, high-traffic coatings, or specialty surfaces such as cabinetry, ask a pro to specify and apply high-performance primers and coatings. Sherwin-Williams, Benjamin Moore and DAP offer product selection guidance that aligns with these rules.
7. Schedule, access and handoff: what to do before the crew arrives
DIY steps
Confirm parking, keys or access codes and label them. Leave a contact number and instructions for pets and restricted areas. Clear a corridor from entry to the painting area and prepare payment or deposit arrangements if required. Provide any colour samples or finish notes you want the crew to follow.
Pro services
Professionals coordinate timelines, provide a project schedule, and perform a final walk-through with quality assurance on completion. Cornwall Painting offers flexible scheduling to minimise disruption, high-volume spray finishing for larger builds, cabinet refinishing, and full clean-up and touch-ups as part of the handoff.
When to hire a pro
For single-room refreshes, simple access instructions are usually enough. For multi-room, multi-unit or strata projects, or when you have tight timelines, book a contractor early to secure a window that fits your schedule. Cornwall Painting can provide a site visit and a custom timeline and quote.
Printable contractor checklist
- Clear room, remove art, and protect floors and furniture
- Clean walls, degrease and remove mould spots
- Patch holes, repair drywall or arrange for popcorn ceiling removal
- Sand repairs and control dust or request dustless sanding
- Mask trim, remove plates and protect hardware
- Prime patched areas and choose room-appropriate products
- Confirm access, parking, keys and the project timeline with the contractor
Frequently asked questions
How long before painting should I move furniture out of a room
Move furniture at least the morning of the job to allow time for protection and staging. For large pieces or multiple rooms, move items the day before so professionals can begin work promptly. Allow extra time if furniture needs professional wrapping or off-site storage.
Which prep tasks should I always leave to a professional painter
Leave large drywall repairs, popcorn ceiling removal, asbestos-suspect ceilings, extensive mould remediation, and jobs requiring dustless sanding or spray finishing to professionals. Cornwall Painting lists these services on its site and can advise after a site visit.
Do I need primer for every interior paint job and how do I choose one
You do not always need primer across an entire room, but you should prime patched areas, bare wood and stain spots. Use stain-blocking primer for tannin or water stains and moisture-resistant primers in bathrooms. For specific product guidance consult manufacturer advice from Sherwin-Williams or Benjamin Moore.
How long after I finish prep will a contractor typically begin work
If prep is complete and accessible, most contractors begin the same day they arrive. Confirm start times with your contractor. Large projects with staged prep or full skim coats may require scheduled waits for compounds and primer to dry before painting starts.
Can Cornwall Painting remove popcorn ceilings and repair the underlying drywall
Yes. Cornwall Painting provides popcorn ceiling removal and the subsequent repair and skim-coat workflow to prepare ceilings for a smooth finish. Contact Cornwall Painting for an on-site assessment and a detailed quote.
Ready to hand this checklist to a contractor or request a quote? Visit Cornwall Painting or request a site visit to get a custom plan for your interior painting project. For contractor-level surface-preparation workflow reference, see this approved resource: A Practical Guide to Painting Repairs and Surface Preparation Workflow.