
7 checks before you trust color matching for interior painting
Run seven practical checks before trusting color matching for interior painting: sample source, sheen, lighting, scanner limits, patch tests, surface prep.
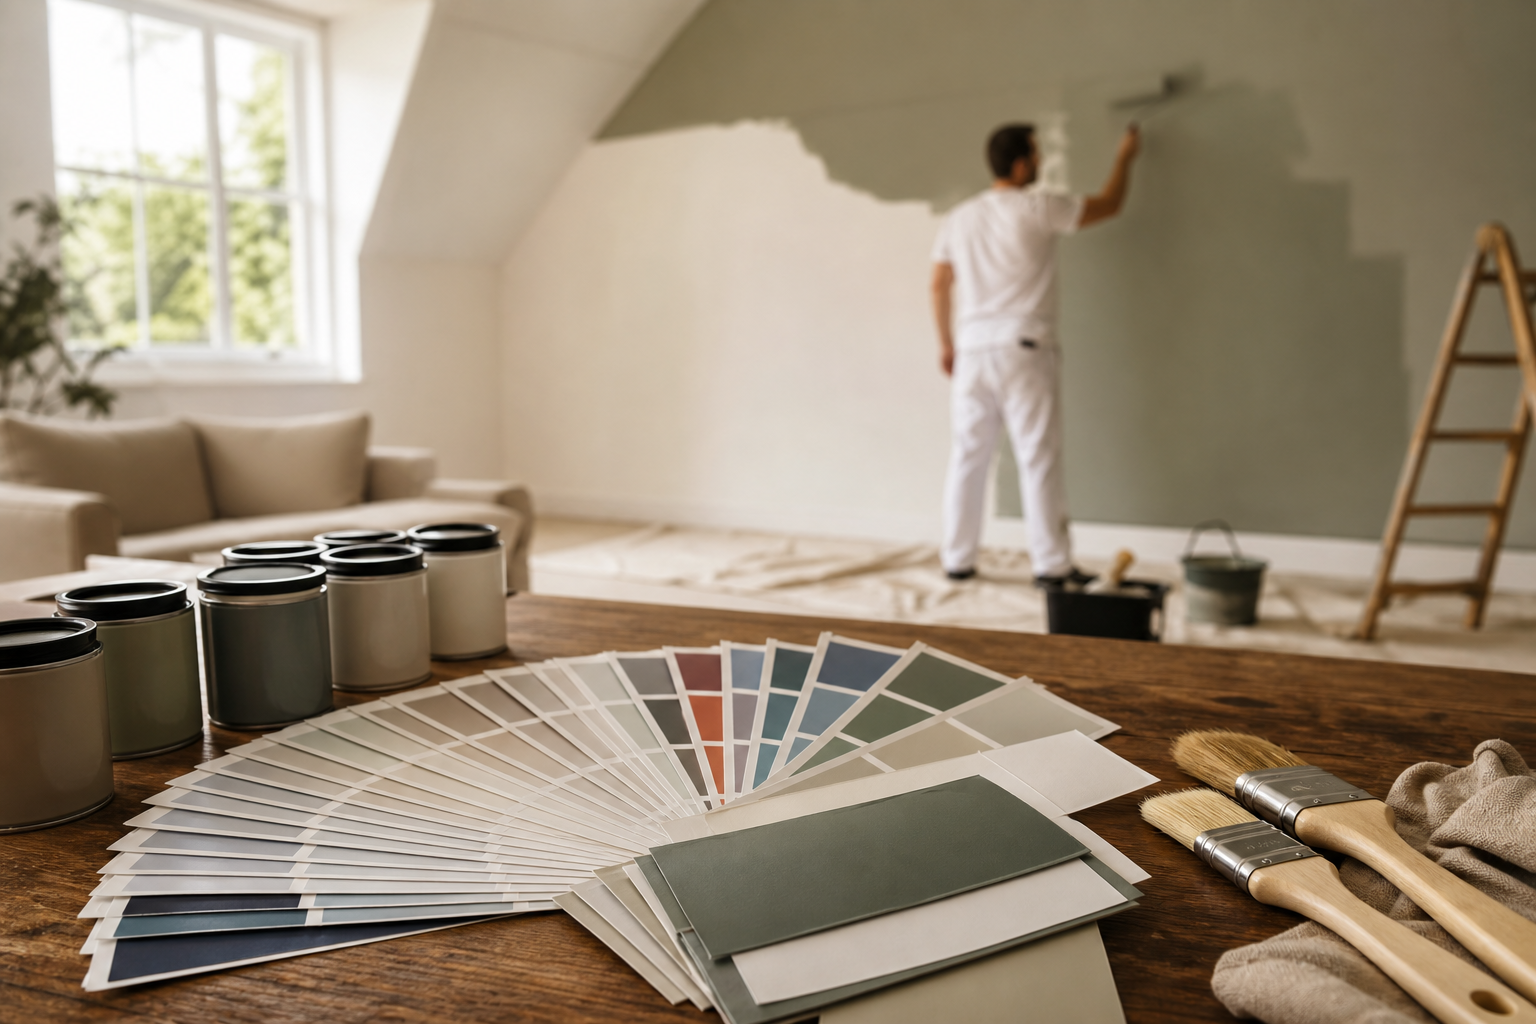
7 checks before you trust color matching for interior painting
Accurate color matching for interior painting often sounds simple: take a swatch, get a match, and paint. In practice a handful of technical factors make the difference between a seamless repair and a visible mismatch. Below are seven specific checks to run before you accept a matched paint, with simple tests you can do at home, what to ask at the paint store, and clear triggers for when to call a professional in Greater Victoria.
1. Do you have a reliable paint sample or original can
A machine or a colour card works far better when it reads an actual physical sample from the finished surface. If you have the original can, the label often includes the formula and sheen and that is the best starting point. If you do not have the can, a small dried chip cut from a discreet area supplies the most reliable reference, or a square of drywall paper pulled from behind baseboard trim can work.
How to cut a small dried paint chip safely
- Choose an unobtrusive spot such as inside a closet, behind a switch plate, or inside a door frame.
- Use a sharp utility knife to score a square about 2 to 3 cm, then gently cut or pry out the paint and the paper beneath it so the film remains intact. This protects the layer the scanner reads.
- Package the sample flat and label where it came from, the room name and the typical lighting used there.
Practical sources recommend this dried-chip technique as the most reliable home method for colour matching; store technicians can scan chips more accurately than photographs or memory alone when matching paint formulas. See guidance from Martha Stewart for similar cut-and-scan tips.
When a can label is enough
If you have an original, well-labelled can with the formula and sheen, bring that to the store. The label removes guesswork about the original tint, and most paint retailers can reproduce the same formula and sheen from that information.
2. Have you matched the sheen and surface texture
Sheen changes how humans perceive colour. Flat or matte finishes diffuse light and make colours look deeper, while satin or gloss reflect more light and can appear lighter or shift slightly in tone. Surface texture, such as orange peel, brush strokes, or patched drywall, also alters how light behaves and so changes perceived colour.
Quick sheen test
- Compare the sheen of your sample area to a sheen card at the store or a small labelled pot from the retailer.
- If the existing surface is eggshell and you receive a satin tint, expect a visible difference even if the base colour formula is identical.
- Include the matching sheen when ordering; ask the technician to tint to the same finish level, not just the colour name.
Decision rule: if the sheen differs, plan for a finish-touch or full repaint to avoid an obvious patch.
3. Did you test the match under the room's actual lighting
Lighting changes colour perception dramatically. North-facing rooms in the Pacific Northwest and rooms dominated by cool LED lighting will show different undertones than a south-facing room at noon. Test candidate swatches on the wall at multiple times of day and under the artificial lights you normally use.
- Place three small sample patches on the wall and view them in the morning, afternoon and evening.
- Switch on any lamps, overhead fixtures, or accent lighting you will normally use and re-check.
- If the tone drifts toward warm or cool under common lighting, the match is not reliable.
Home colour experts note that viewing samples in situ at different times is essential before committing to a whole-wall application.
4. Do you understand the limits of paint-store scanners and spectrophotometers
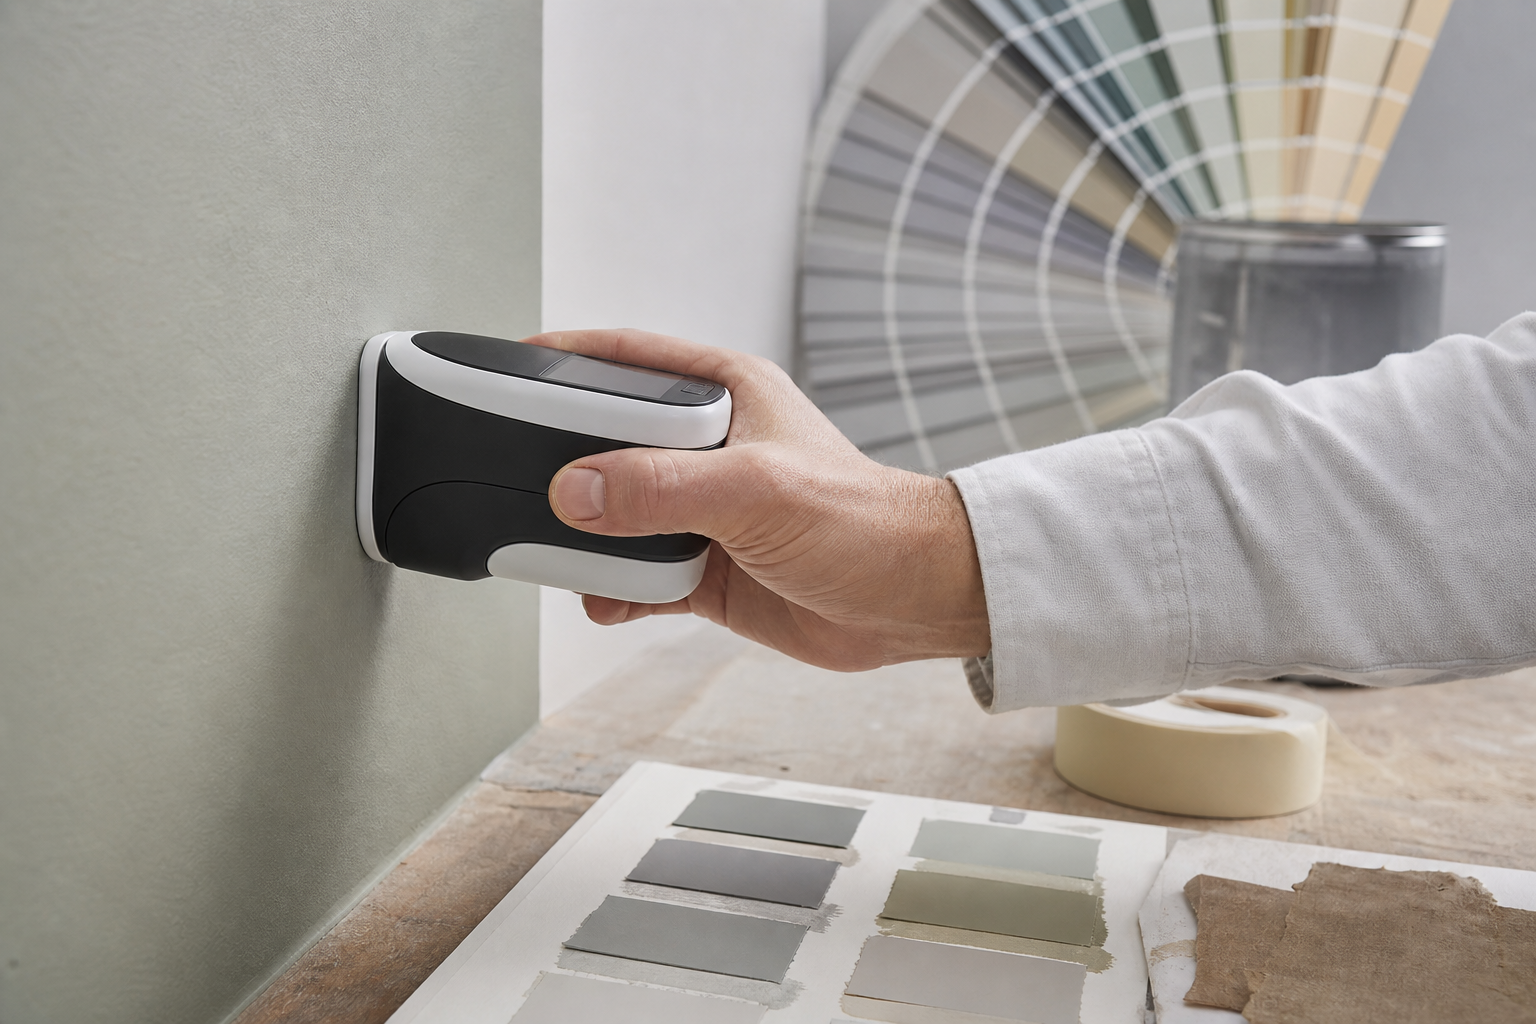
Modern scanners and spectrophotometers are powerful tools and they can produce a very close formula, especially when used with a clean, flat sample. Some store systems also use full-spectrum LEDs and extensive colour libraries to improve accuracy. However, machines read light reflected from the surface and can be fooled by sheen, aged varnish, dirt, stains, or substrates that change absorption. Always bring a physical sample and ask the technician to produce a small sample pot first so you can test it at home.
What scanners do well
- Detect base tones and combine tints for a near-match on clean, uniform surfaces.
- Re-create a familiar manufacturer's colour when their library is included in the device.
When scanners fail
- Scanners may misread glossy or textured areas, water stains, or surfaces with multiple finish layers.
- They cannot predict how a formula will look when applied over a patched, stained or very different-colour substrate without a sample patch test.
For the most reliable results, ask for a small sample pot or a 6-inch sample patch before committing to full quantities; Sherwin-Williams explains how in-store matching tools use controlled lighting and algorithms to improve precision, but they still recommend verification on the wall before full application.
5. Have you applied sample patches on the actual wall
The single most important verification is to paint sample patches on the spot where the work will be done. How many and where you place them matters.
Where to place patches
- Make three patches: one at eye level on the same wall, one near a corner, and one on an adjacent wall so you can judge how the colour reads from common viewing angles.
- Use a brush or roller consistent with how the final coat will be applied so texture matches.
How long to wait before the verdict
- Let patches dry completely and cure for at least 24 hours, then re-check under the room lighting cycle. Some pigments settle as the paint cures, so a same-day check can be misleading.
- This Old House recommends always testing samples on the wall and letting them dry before deciding to proceed.
Decision rule: accept a match only when the patch matches in tone and sheen across the day and under the room’s usual fixtures.
6. Did you account for surface condition, stains and repairs
Substrate matters. Patched drywall, smoke stains, water damage, or glossy enamel bases alter how a new paint reads. Cleaning, sanding and priming changes the final appearance and is often necessary to reach a true match.
- Prep checklist: clean the surface, sand glossy spots, fill and feather patched areas, and prime stains or patched drywall with a stain-blocking primer before applying colour coats.
- Ask your estimate to separate repair and priming work from tinting costs so you can compare quotes accurately.
Cornwall Painting includes surface preparation and matching as part of its interior painting services; if repairs are required, those steps should be part of any matching plan rather than an afterthought.
7. When should you hire a professional for color matching

Hire a professional when the match spans multiple rooms, when high-value finishes or cabinetry are involved, or when sample tests still show differences after store matching. Professionals bring calibrated tools, controlled sample swatches, experience with local lighting conditions, and workflow choices such as high-volume spray finishing or custom tint batches that can be crucial for consistent multi-room results. In Greater Victoria, Pacific Northwest light and older finishing types on period homes can make matching more demanding; an on-site estimator who can see your rooms at different times of day and test patches is often the fastest way to a reliable result. Cornwall Painting offers on-site colour-matching as part of its interior and cabinet refinishing services across Greater Victoria and nearby communities.
Questions to ask a painter about colour matching
- Do you bring calibrated samples and a portable spectrophotometer for on-site checks?
- Will you prime patched areas and include that cost separately in the estimate?
- How many sample patches do you apply, and how long before you confirm the match?
- Can you produce small sample pots for approval before full application?
What a pro will do on-site
- Inspect substrate, identify moisture or stain issues, and recommend primer or repair steps.
- Bring physical samples and test swatches and evaluate matches under the room’s existing light at different times of day.
- Tint trial pots for in-room testing and adjust the formula if undertones shift after curing.
Quick decision checklist to use before you accept a match
Bring a physical sample, confirm and match the sheen, run sample patches in the room across times of day, require primer and repairs for stained or patched areas, ask the store about spectrophotometer matching and request a small sample pot, and hire a professional when two or more checks (sheen, surface condition, lighting) fail. If multi-room consistency or high-value finishes are required, book an on-site consultation.
Need help verifying a match in Greater Victoria
If you want an on-site colour-match consultation or an interior painting estimate in Greater Victoria, Cornwall Painting provides in-person matching as part of its interior painting and cabinet refinishing services. Prepare by collecting any original cans, a labelled sample chip, and photos showing the room at different times of day so the estimator can plan sample placement and any necessary prep work. Visit Cornwall Painting to request an estimate or colour consultation.
Frequently asked questions
How do I cut a paint sample without damaging my wall?
Choose an unobtrusive spot such as behind a switch plate or inside a closet. Use a sharp utility knife to score a small square and gently pry out the paint plus the paper beneath it so the sample includes the paint film. Store the chip flat and label the room and location before taking it to the store to be scanned.
Can a paint store guarantee an exact colour match for interior painting?
Stores using spectrophotometers and controlled lighting can produce very close matches, but guarantees depend on substrate, sheen and lighting. For best results, bring a physical sample, request a small sample pot, and test it on the wall. Manufacturer in-store matching tools improve accuracy, but you should still verify the result on-site before a full application.
How many sample patches should I test and how long should I wait?
Apply at least three sample patches: on the target wall, near a corner, and on an adjacent wall so you can judge viewing angles. Let samples dry and cure for at least 24 hours, then evaluate them at different times of day and under the room’s usual lighting.
What should I bring to a professional colour-match appointment in Victoria?
Bring any original paint cans, the physical chip if you cut one, photos of the room at different times, and access to the room with normal lighting. Tell the estimator about recent repairs or stains and whether you need multi-room consistency or special finishes like cabinets or trim.
Ready to confirm a match with an experienced painter? Cornwall Painting provides on-site colour matching and interior painting estimates across Greater Victoria — request a consultation at Cornwall Painting. For further reading on cut-and-scan methods, see Martha Stewart. For details on in-store matching tools, see Sherwin-Williams. For guidance on sample patch testing, see This Old House.